

I didn’t know what to title this post – there are so many things in motion!
Electrical


The electrical is nearly complete – I had a final inspection – the building inspector came out and made sure everything is correct. But he threw a wrench into my plans for “electrical by the end of the year” when he said – right as he was leaving – that he wanted me to wire all the outlets and switches, then call him to come back and check it. And at that point, he would let the utilities know to come turn on the permanent power. Ok, fine.
I thought I could just put outlets in all the boxes, but soon found out that it’s easier to put the drywall on first before putting receptacles in the boxes. Grrr! More work! So I started buying drywall and hanging it.
That created another problem: hanging drywall made it hard to see – I have to constantly move my worklights to whatever room I’m drywalling. Also, the drywall makes it so I can’t just snake power cords through the walls anymore – I have to put the cords in the hallway and go around corners.
Also, while hanging drywall, I noticed some of my pre-hung doors are sticky when closing. Since it’s easier to fix before hanging drywall, I’ve been doing that, too. To speed things along as much as possible, I’ve only put drywall up where there are outlets or switches for now. After I get the power approved, I’ll have lights in the bedrooms and hallways enough to see what I’m doing. It’ll be nice to have power where I need it without dragging worklights everywhere.
I had the inspector out a few months ago to look over the inside wiring – all was ok, except there’s a requirement I missed: fire alarms! They have to be installed in each bedroom and hallway. They must be wired together (no “battery powered only” devices). So I added wiring for that.
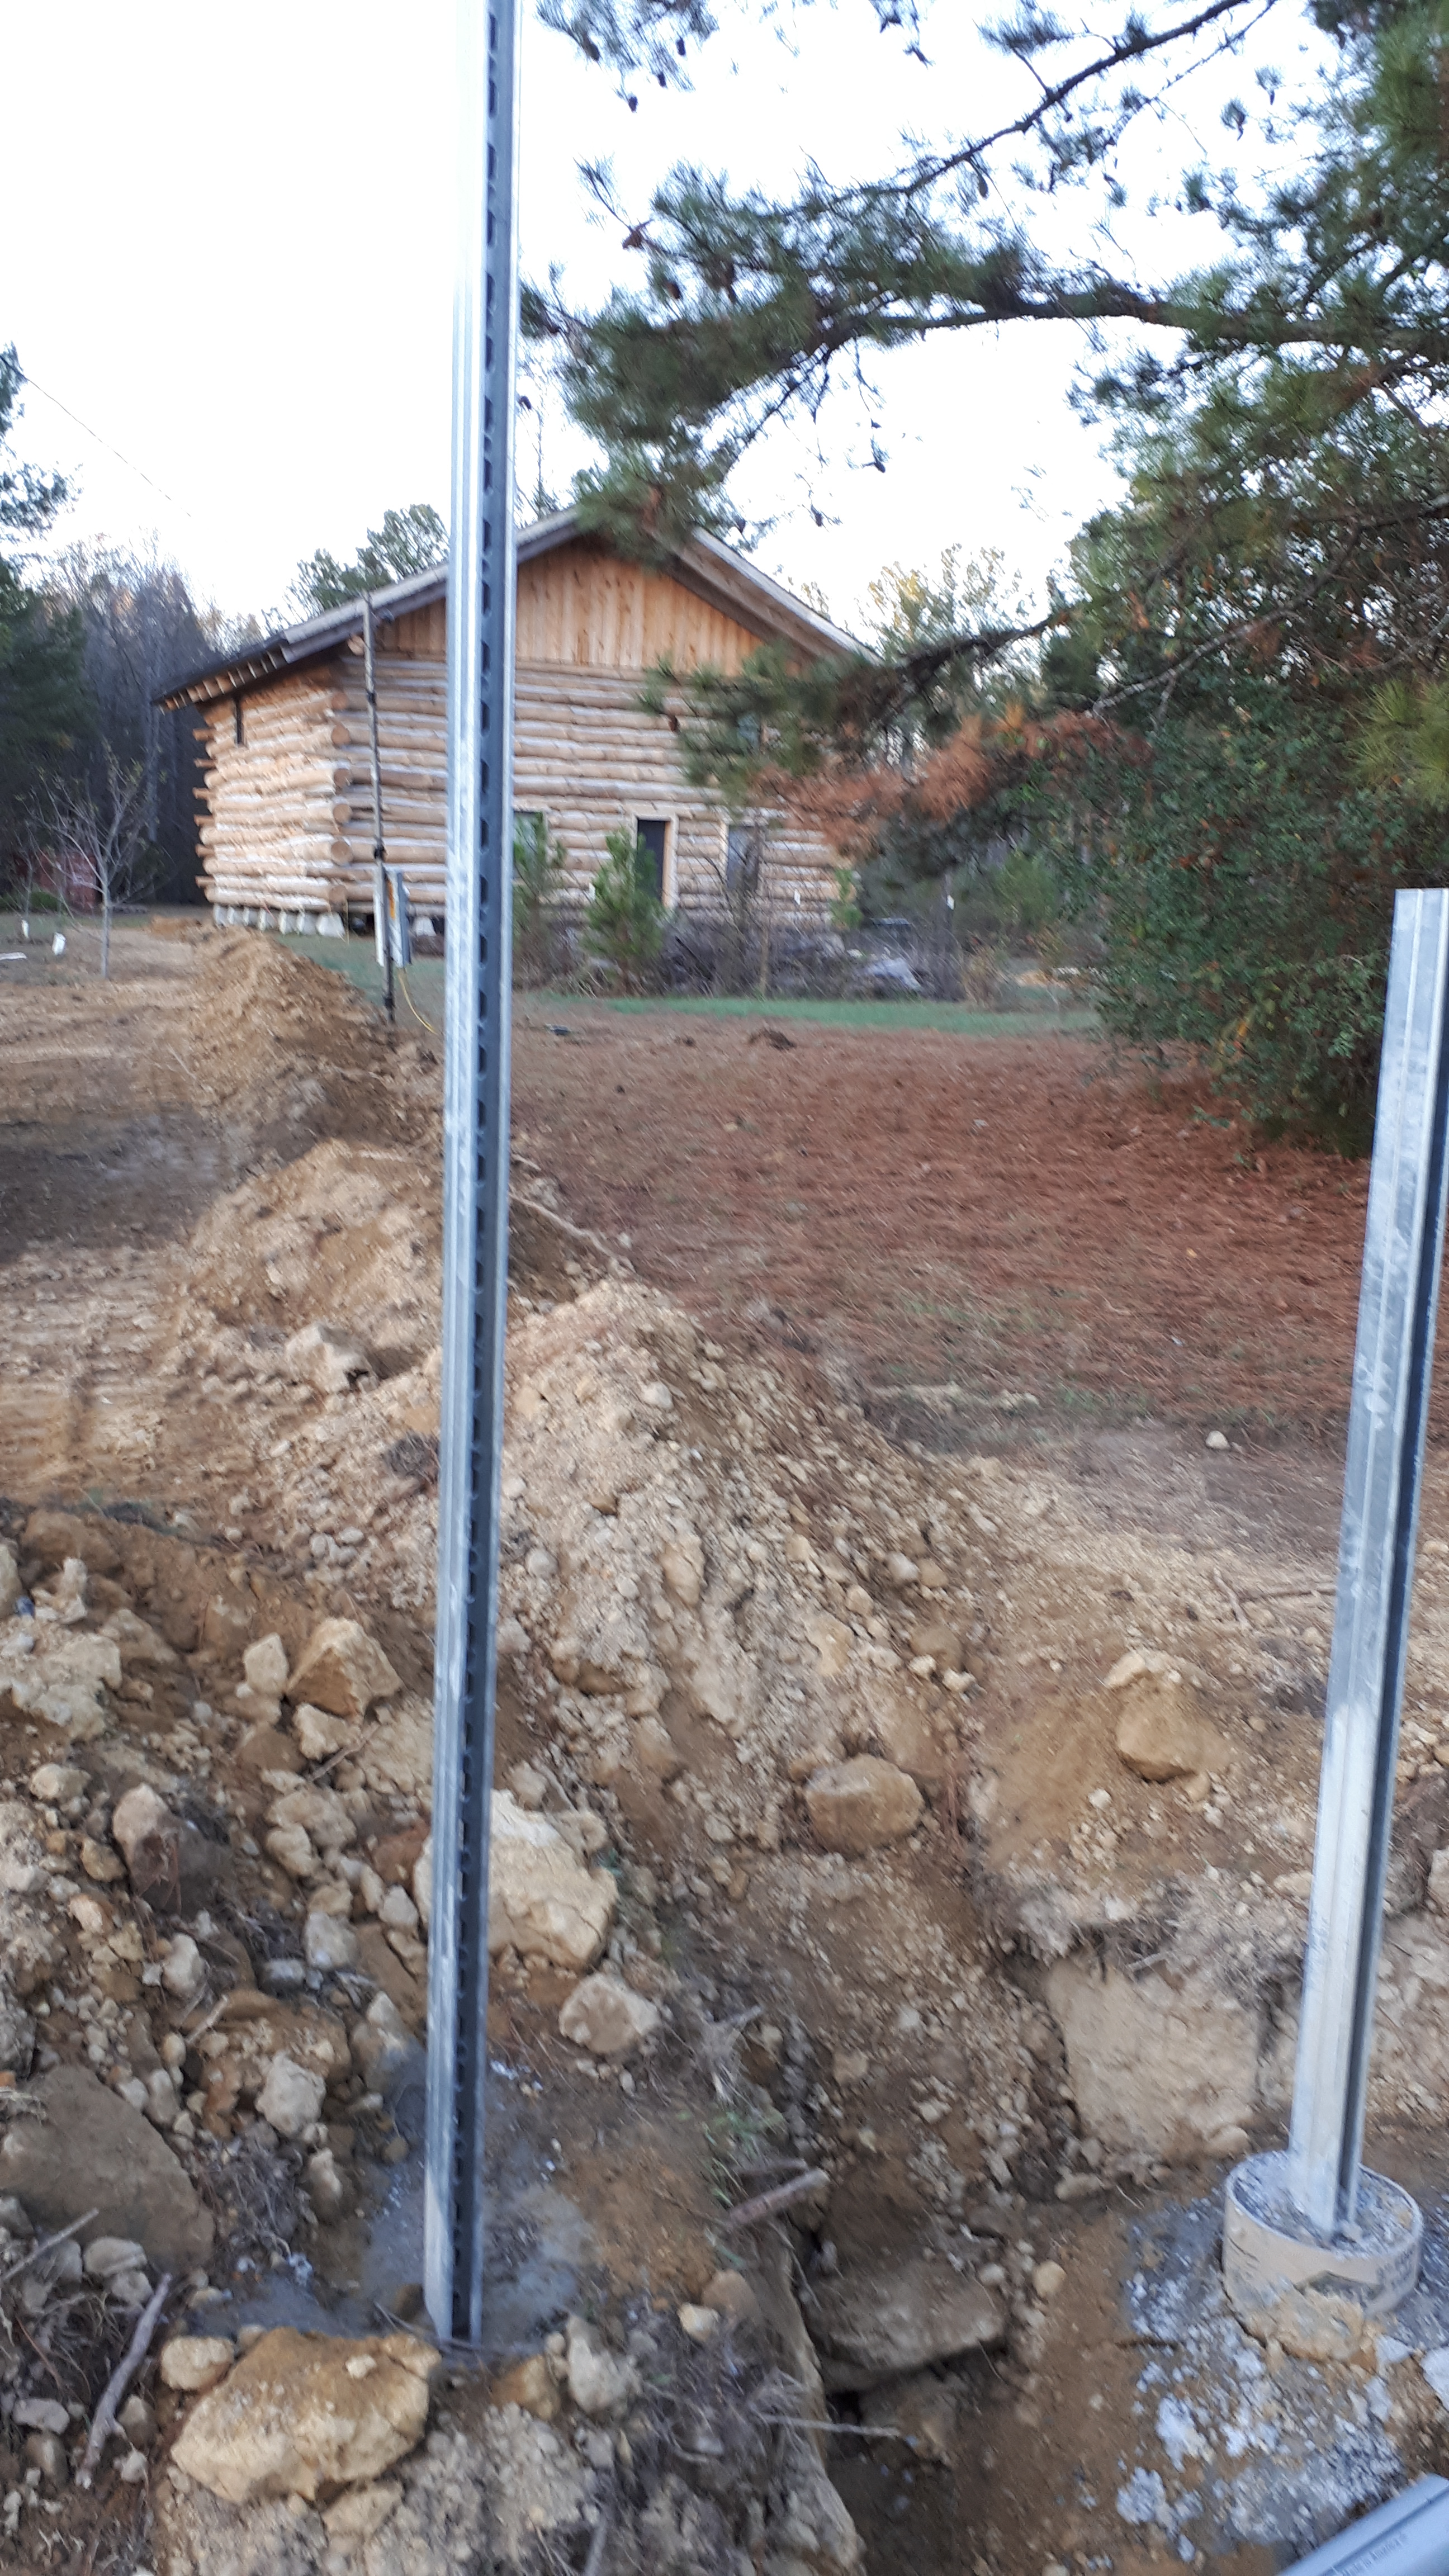
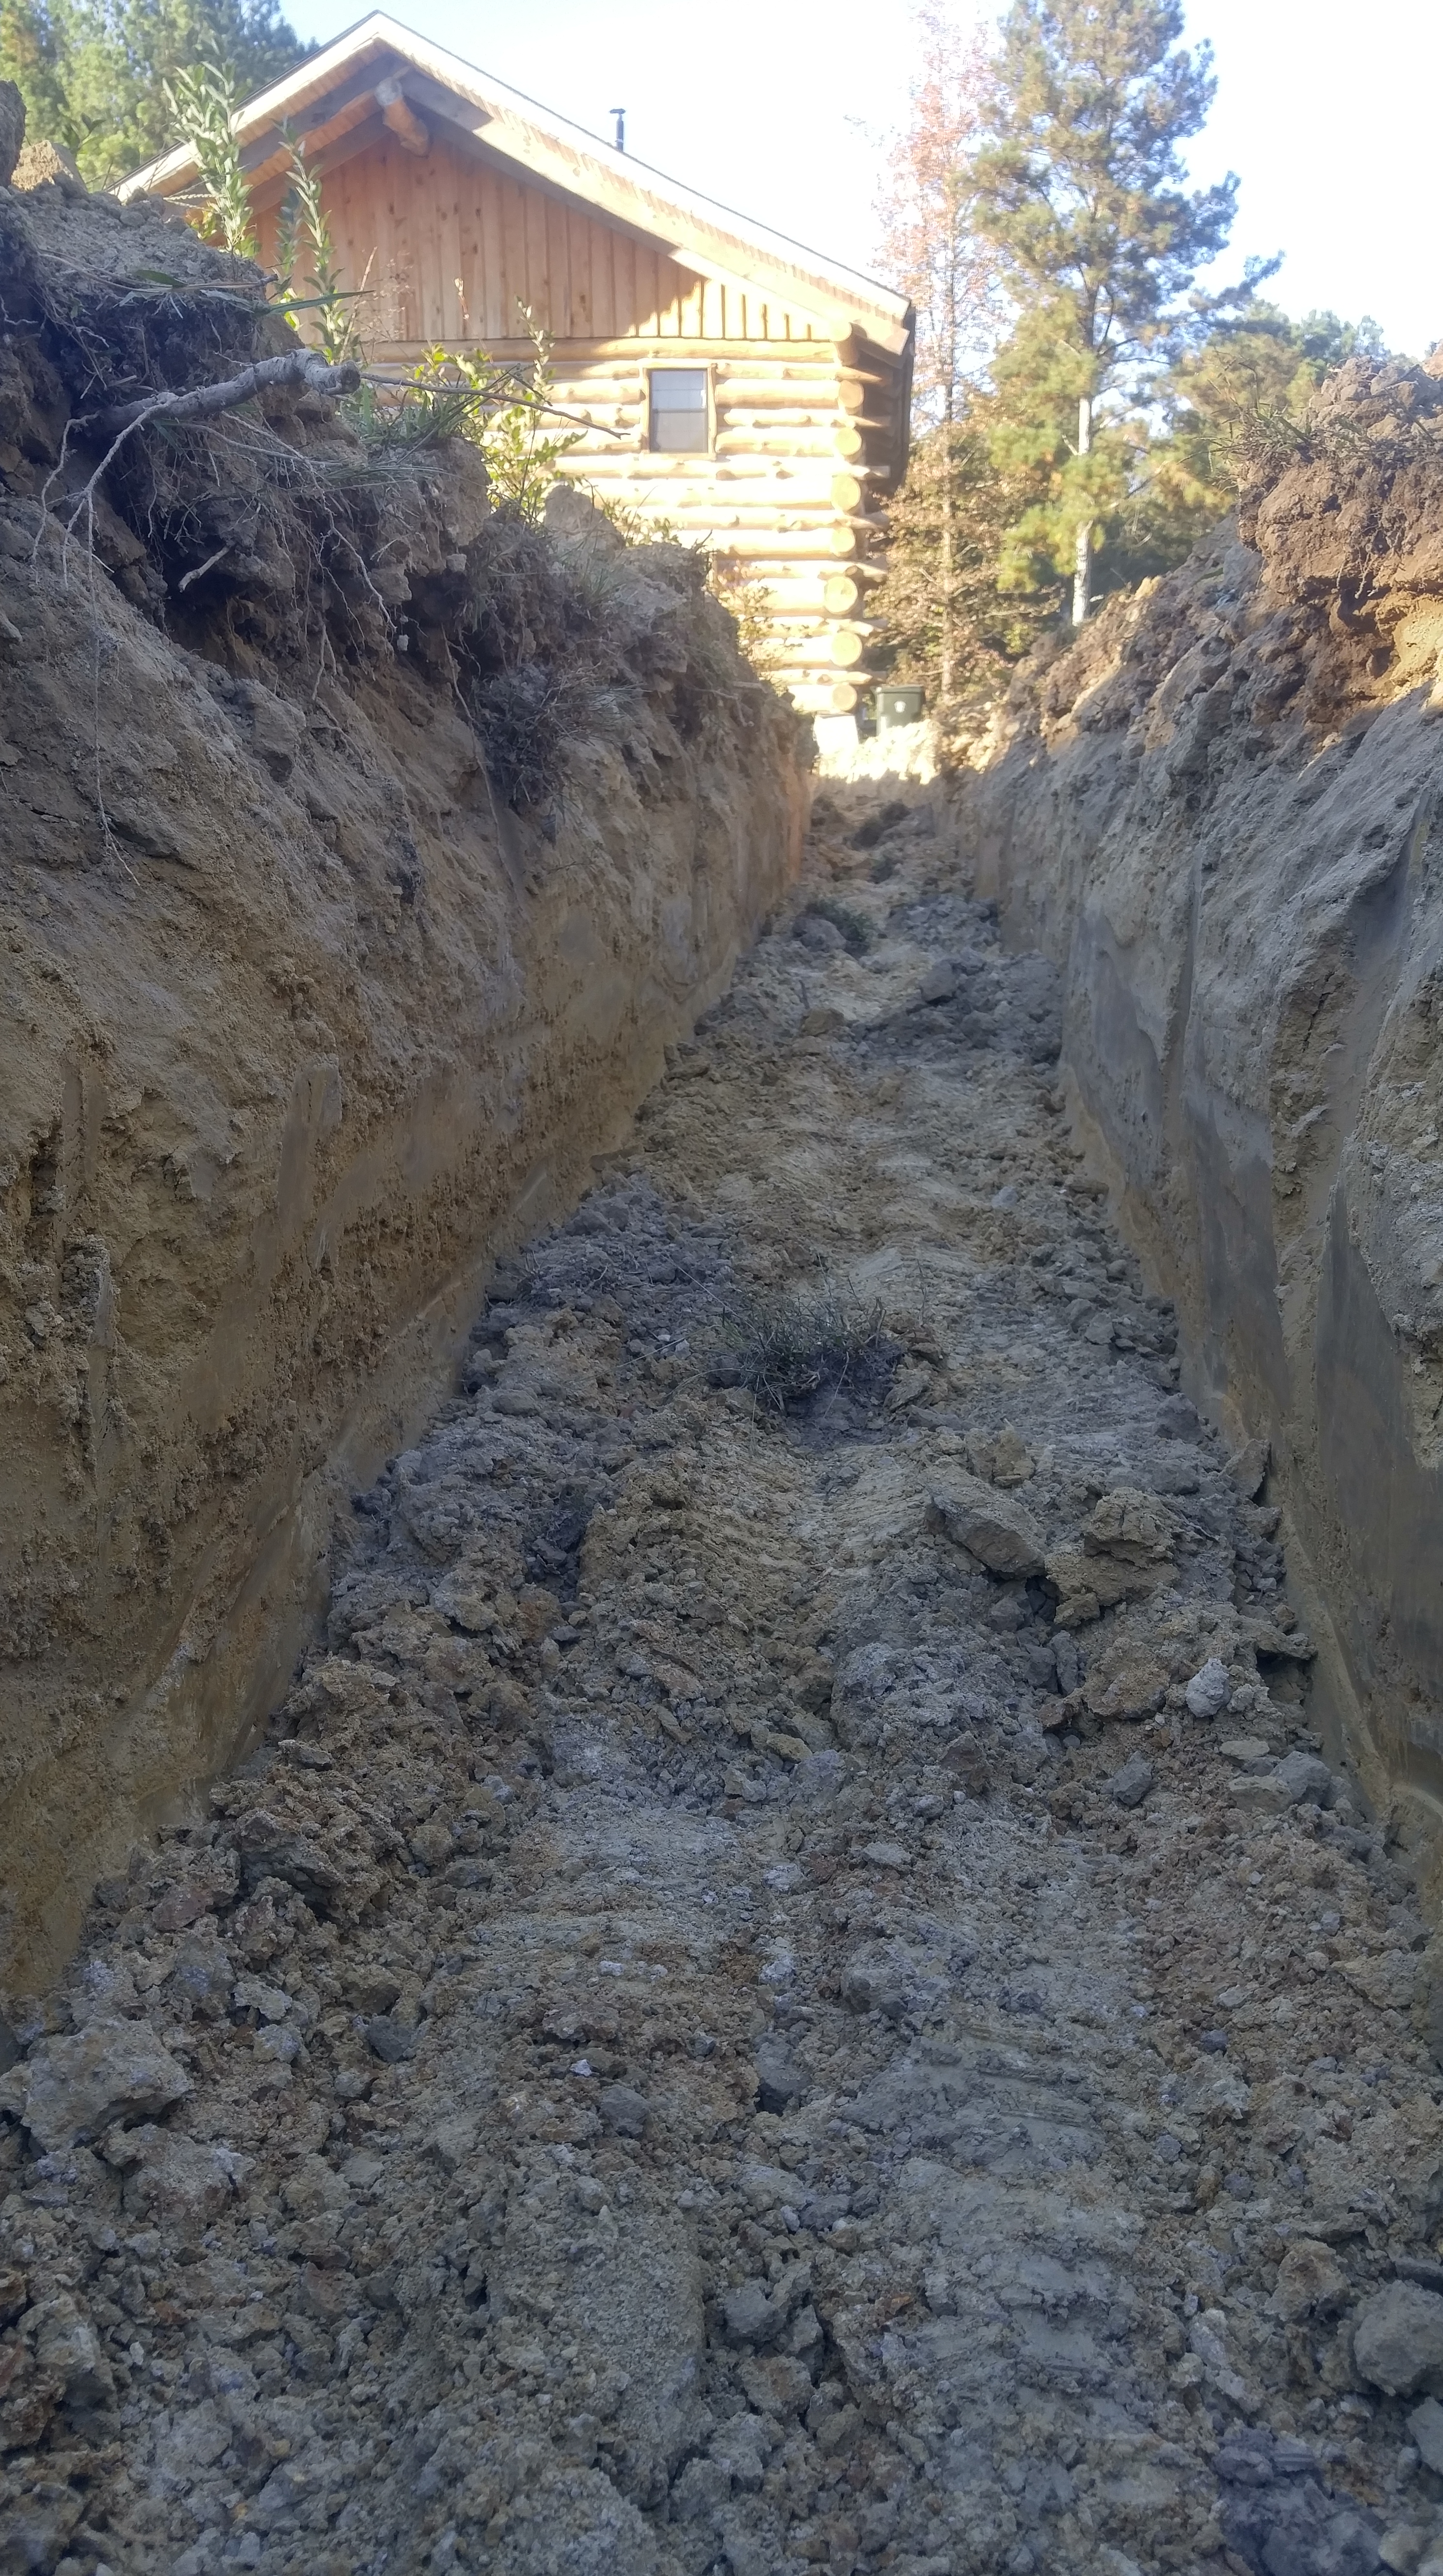
I need to explain my electrical system: the utility company will run up to 150 feet of cable. Since my house is over 200 feet from the road, this meant I could have a pedestal in the middle of the yard, or I could probably pay a bit more to put the meter box on the house. I didn’t like “the meter box on the house” idea because I don’t want to mount something like that to the logs and induce rot on the logs. So the only other option was install a pedestal close to the road. I called the engineer at the utility company and explained what I wanted to do. He said, “Sure! We have a document that describes how to do that, but you must follow it exactly.” I spent a few weeks trying to find things like “double backed unistrut” (found it at Graybar Electric). I also needed a trench to bury the line, and while I was at it – I needed a trench for the plumbing. More on the trenches below.
For 200 Amp service, I found out I needed a particular type of cable – 4/0, 4/0, 4/0, 2/0. There are two cables carrying power, one for the neutral, and one for the ground.
I didn’t have the grounding rod installed because I didn’t know where to put it. I was unclear on how to wire the breaker box for the ground. A video I watched said I could tie all the neutrals and grounds on the same bus, but that didn’t explain where to install the ground for the outside disconnect box. So were there going to be two grounds, or was I doing it wrong? I finally called an electrician. He said he could wire the the breaker box and the disconnect switch for $200. I told my wife, and she wanted to just pay him to do it and be done with the whole thing. He said he’d come out and take a closer look.
When he looked at it, he said, “You don’t need me to wire this – you can do this yourself. You’ve already done most of the work, let me show you how to finish it off.” Then he drew a diagram of how the wires should all connect.
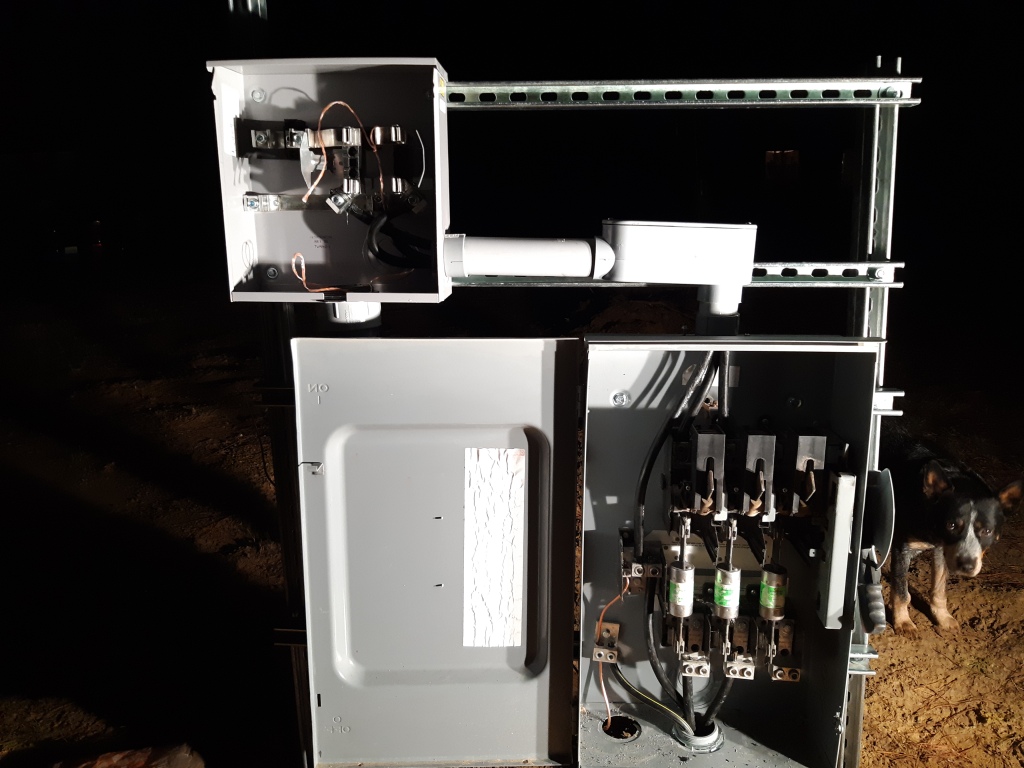
At the disconnect switch – which is about one foot from the meter base – the neutral from the house connects to the neutral from the meter base. The ground gets connected to a lug mounted directly onto the disconnect switch housing. Then a #4 solid copper wire connects the neutrals to the ground, and then continues on to the outside of the disconnect box to an 8′ copper ground rod.

I was wondering why it was okay to have such a tiny #4 ground wire connect to almost an inch diameter ground from the house (in the photo above, the #4 ground wire is the tiny copper wire on the left/bottom side of the disconnect switch). I found an answer online that explained that the ground’s only purpose is to direct dangerous current – in the event of a fault – away from a person and into the earth. Since the breakers will trip almost instantly in the event of a fault, the amount of current flowing through the ground – even though it could be large – will be only on the wire for a microsecond – until the breaker trips.
I set about following his diagram – and found out why it would cost $200 – those 4/0 cables are about an inch thick – they don’t bend much, so getting them tied down took me several hours stretched over a few days! But I got it complete. The breaker box “won’t win any points for good looks”, said the inspector with a laugh, “it just needs to do its job.”
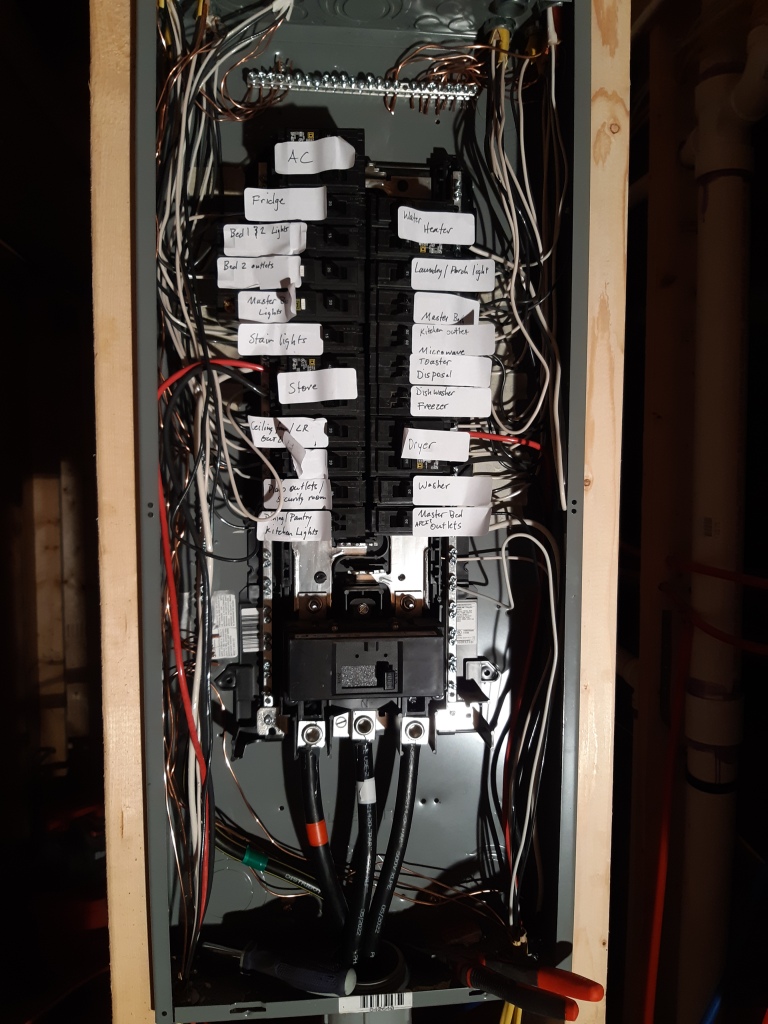
And how it should be done in the breaker box, in my case: The two power feeds were easy enough to figure out. There was also a neutral and a spot for a ground right next to each other. The electrician said you can only tie neutrals and grounds together there if your meter box is less than 6 feet from the breaker box – in the case where your breaker box is inside the house, and your meter base is on the outside of the same wall. They provide you with a big green screw for this purpose – installing this screw grounds the neutral to the breaker panel. Since my run is 200 feet away, those neutrals and grounds had to remain separate all the way back to the disconnect switch.
Other Utilities
Sewer line: Passed
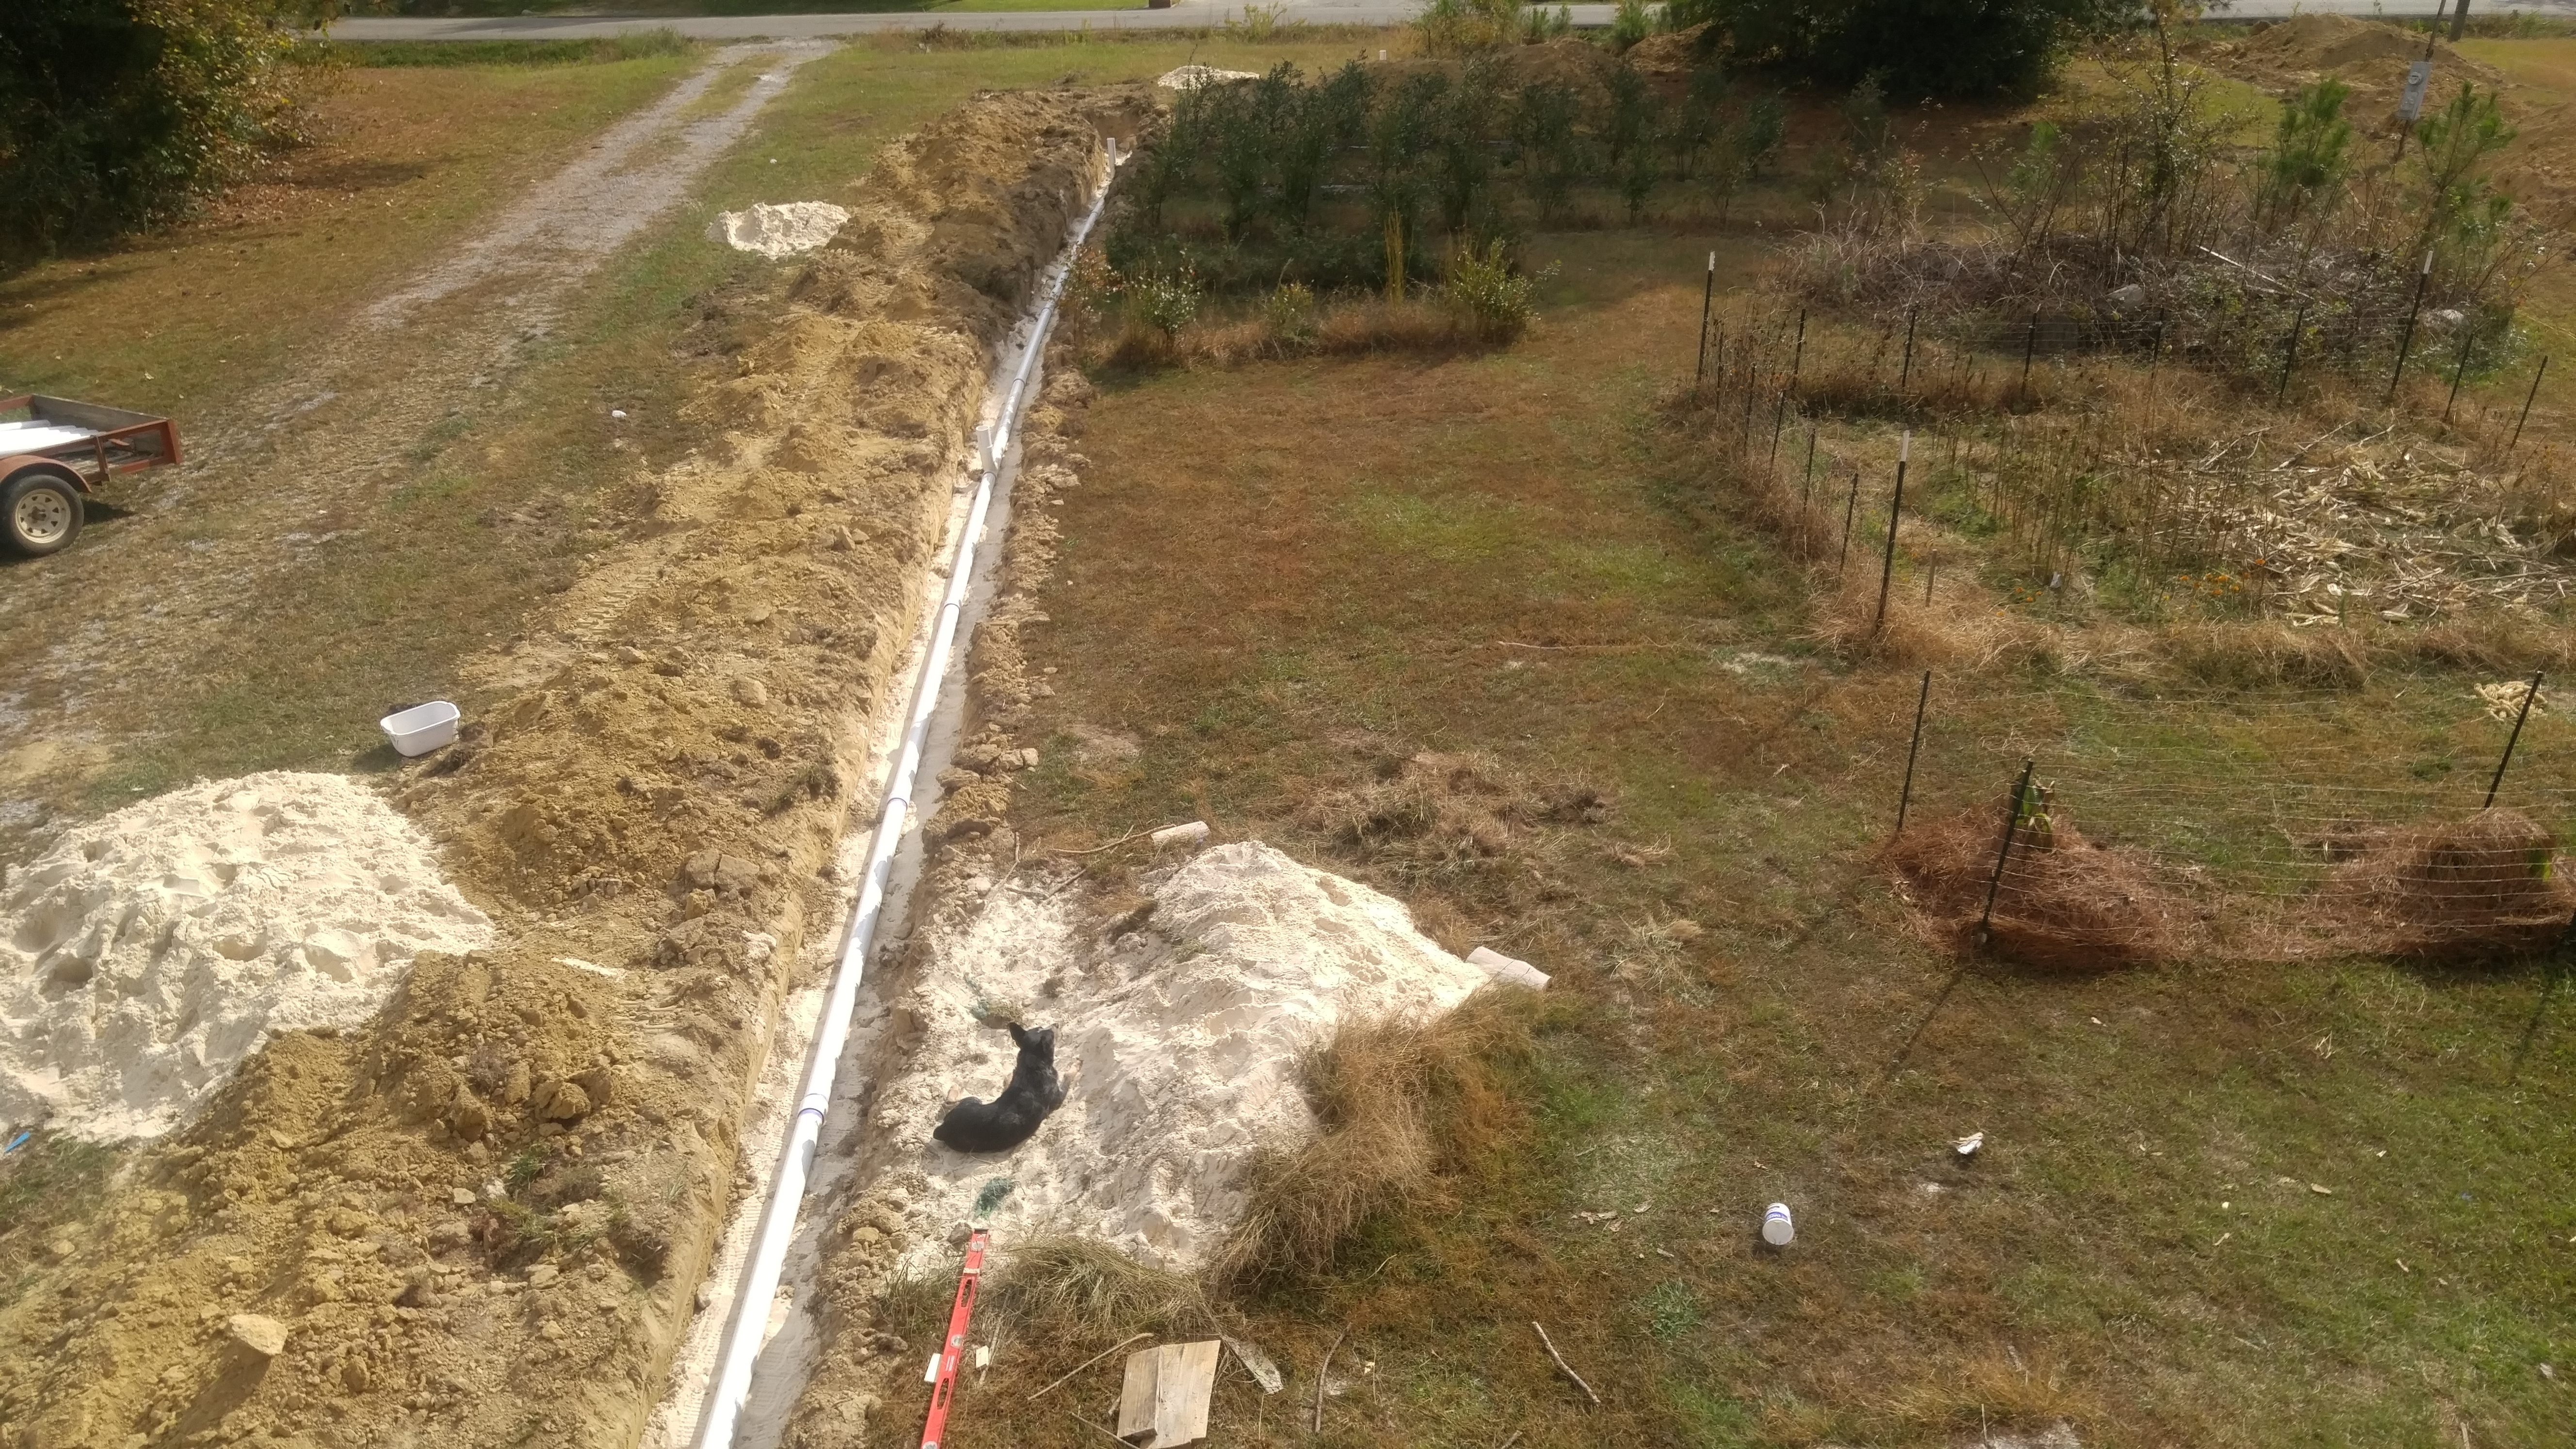
The sewer line must be installed with 1/8″ per foot fall. I found out it doesn’t need to be buried very deep near the house – just as long as you maintain the slope until the end of the line. I found a guy who could do the whole thing for $400, and then another $100 to come back and fill it all in after I was done laying pipe. He had a GPS device on his mini excavator that allowed him to get the slope correct – I barely had to do anything to the trench to lay the pipe! And I used 4″ pipe “because”. I could have used 3″, but decided the 4″ would be better. Every 50 feet a cleanout is required. I installed this pipe, but only glued the bottom of each piece to the sewer line – I left the cap unglued so I can wait for the ground to settle, and then I’ll cut them to just below the grass so I can mow. After installing it, I called the city to come hook it up and inspect it, and the guy there said I could just do it myself – he dropped off the coupler I needed to use, said it looked good, and that was it.
Electrical trench: Passed

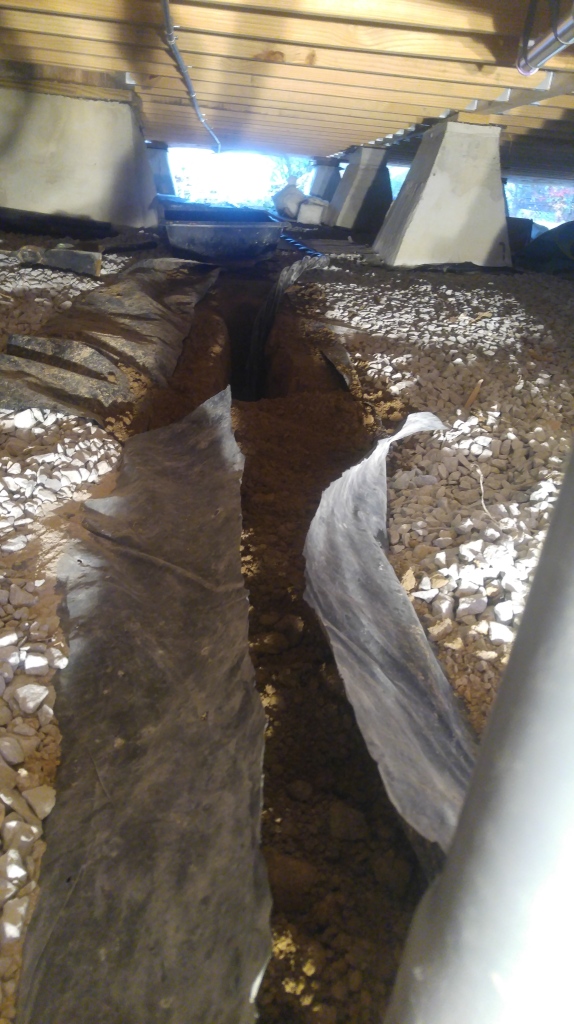
The electrical trench just needed to be at least 24″ deep. My guy dug it about 30″+, just because. The hard part was the trench under the house – had to be 24″ deep, and I had to do it by hand – no room for equipment under the house. It was very difficult – I took several days, digging the trench with a pick and a hand trowel, loading the dirt into a bucket and hauling it out to make room, then installing the cable in conduit, and finally filling the trench back in. Next time: install the conduit when I dig the foundation, then just pull the cable in through the conduit. But that would mean I know where the breaker panel is going before I build the house, so….
Mechanical: coming up next
I finally found a unit that was the right size! My brother-in-law used some software and designed the whole system. The calculations showed I needed a 3.5 ton “package unit” – which is an AC and heater all in one. A note on the unit – it is an all electric heat pump with supplemental electrical strips for when the temps drop below 20 degrees. We don’t have gas on our road, so that’s why I need an all electric unit. It is about 10 years old, and was a pull-out for a lady who was selling her home – the buyers just wanted a new system; apparently there’s nothing wrong with it. I got it for $250. I need to pour a pad and find some plenum, but that will happen soon after I get the power turned on.
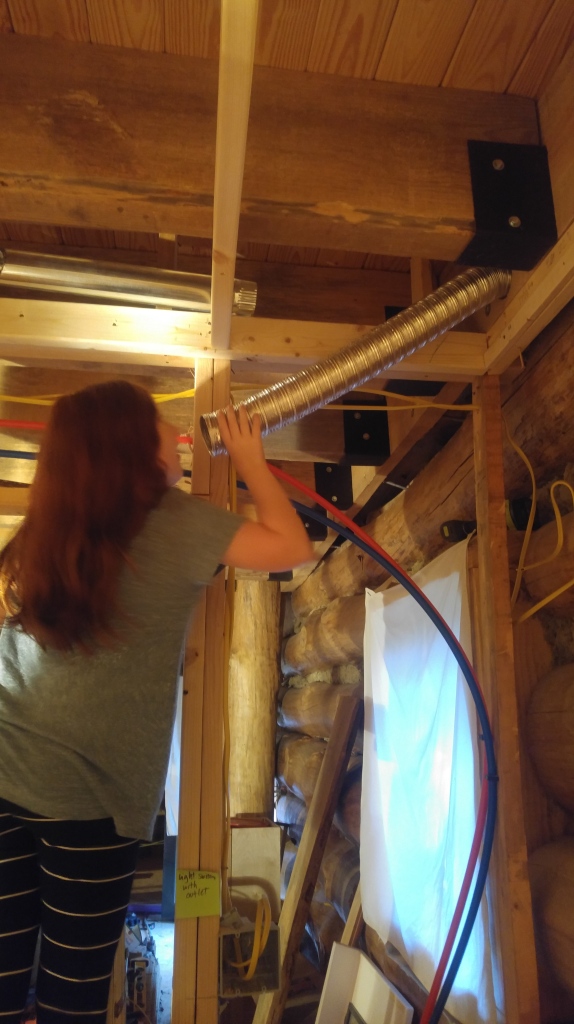
The mechanical inspection includes the bathroom ventilation as well, which is done, thankfully.
I found out how they do the “blower door test” here. But first: what I thought it was. I thought they would tape a big fan to the door and pressurize the whole house and see where or if it leaks. What they actually do – a guy recently went through this and told me that they pressurize the HVAC system – the plenum and all the vents and stuff – they test the system for leaks. I think I can pass that test much easier – just need to keep the plenum and ducts tightly sealed and insulated where needed.
Started drywall

As I said above, the reason we need the power on is we are sick of dragging work lights everywhere – now with the drywall going in, the rooms are all dark unless you have a light right in there with you. And it’s time – I can’t get the flooring installed until I Have the HVAC system installed and running. I need drywall somewhat in place so I know where to install the vents – need something to have them hang out of.


I’m using several methods to scribe the edges of the drywall where it meets the logs:
a) a compass held exactly level will trace the shape of the log onto a piece of drywall.
b) Or on a horizontal log, I just used a 4′ level on a 4′ wide piece of drywall – everywhere a bump or knot in the log “pushed the level down”, I marked that spot on the drywall. Connect the dots and cut on the line, then push the drywall up into place.
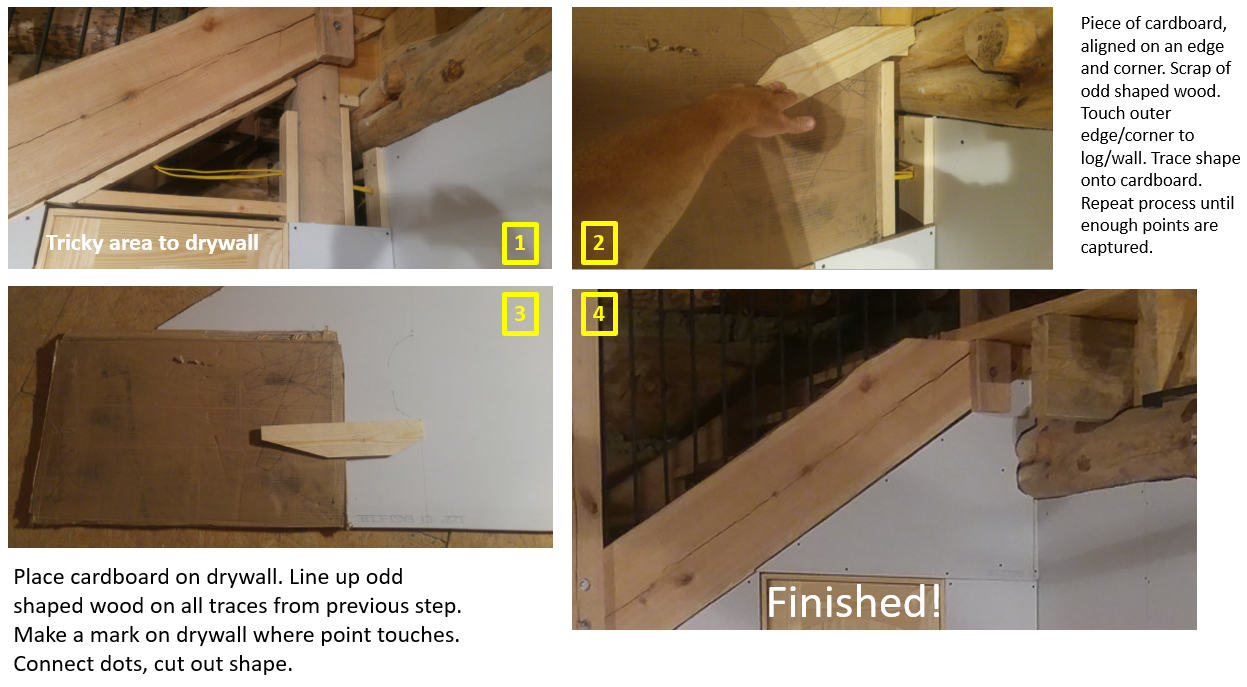
c) for tight places where I can’t get the compass in there, much less the level, I used a ticking stick, in which you place a piece of cardboard with a corner of it lined up with where the corner of a drywall piece will be. Then you use an odd shaped stick: touch one end of the stick to the shape you need to trace, and draw the outline of the stick onto the cardboard. Do this dozens of times until you have enough outlines of the stick. Then place the cardboard onto the drywall and orient it where the corner of the drywall will be installed. Orient the stick on each outline, and mark the point on the drywall where the stick touches. Connect these dots and cut out the shape.
Next Steps
Obviously the next thing is to finish the HVAC system, get the drywall install finished, install all the plumbing fixtures (still need a counter for the kitchen sink), chink, install the finished floors, exterior stairs, and then paint and poly everything.
