

The second floor will be held up by 4×12 beams spaced 24″ apart. On one end, they are supported by the girder log we installed back before we completed the roof. The other end is supported by brackets that are screwed to the wall. Now, you can buy Simpson StrongTie 4×12 brackets, but they are ugly and cost between $11 – $18 each. They also make “pretty” brackets, but they are pricey – some are $70 each. I need about 28 of them, so that would mean between $300 – $2,000.
The concept
Obviously, I wanted to make my own because “Log Cabin” and “cheaper”, so I set about designing them myself. I thought about going real fancy, but in the end, they just need to be functional. The fact that they are in a log cabin should be cool enough. If you want them to be affordable and not take forever to make, then you must limit the design to what shape / size of steel is available. I had been going to my friends at C&J Welding, but they kept saying for the big stuff, I needed to take a trip up the road to Service Steel. So I finally took the plunge. Johnny at Service Steel is a quiet man, but also very kind. What I really wanted was a 3/16″ rectangular tube that was 4″x8″. But that’s not a standard size piece, according to the guys in the shop. One guy suggested just a “flat bar” of steel, fold up the sides, and weld a back on it. I took it further and thought if I could fold up the sides, and leave a flap to fold over for the back. This would create a sort of box where only 2 weld lines were needed on the back.
As for strength – as long as your welds are good (my modified forklift attachment for my tractor still hasn’t broken yet – and it has lifted 6,000 lb logs), and the steel is strong, it should hold.
| Simpson brackets: | My brackets: |
| – are made with 1/16″ steel, – only hold about 2″ of the beam, – are attached to the beam and the supports by the use of special nails. – start at about $11 each. | – are made of 1/8″ steel – hold about 6″ of the beam – are attached with lag screws – cost about $4 each. |
The design
I called Ellery and asked him if he had a big anvil.
“For what?” he asked. So I told him. “No, don’t use a torch – that will take too much time. What you need is to bring it all up here to my shop, and we’ll make them in a few minutes. Send me a drawing with the dimensions.”
I did:

I went over to get the steel, and they said, “sorry, but we don’t have 3/16″ x 8″ in a flat bar. We can tell the mill to take a 1/4″ and burn it down to 3/16″, but that will be more expensive. I didn’t know what to do – 1/8″ (2/16″) seemed too thin, and 1/4″ (4/16″) seemed too thick. I went with the 1/4”. But while driving around with it in my truck for a few days, it gnawed at me how thick it was. I decided to suck it up and tell them I made a mistake and see if they would exchange it for something thinner. I was prepared to pay the difference.
“No problem,” said Johnny. “Let’s take a walk and I think I have something you can use.”

He had some 1/8″ x 12″ with a few holes in it. They were going to use it for a project, but it got cancelled. He offered me all 60′ of it. I took it all.
I went to Ellery’s secret shop and we made a prototype. We discovered that folding and cutting was the easy part- the hard part was marking the pieces. So he sent me home to mark all the steel and cut out the initial shape with my angle grinder. The next day, he folded 36 of them in about an hour. With the 12″ wide steel, I had to modify my design a bit but I think they look even cooler than before.

4×12 bracket concept 
This is how to lay the pattern out on 12″ wide steel. Each 28″ length yields 2 brackets. The dark gray areas are scrap and get cut off. 
Dotted lines are folded, solid lines are cut. 
The shearing machine can only cut in complete lines, so I had to use the angle grinder to cut these out.

This shearing machine literally whacks off the steel. Pretty much like chopping a cucumber. We used it to cut the pieces into 28″ lengths. 
This brake makes all the bends. Start with the back of the bracket… 
Then bend the sides up. Can’t bend the back all the way because this isn’t a “box brake” (can’t make 90 degree bends on all sides). The back can be heated a little and folded over when welding it together later. 
One fold left. 
The completed bends. Now the back can be folded a bit more, and then welded and drilled.
Welding & Drilling

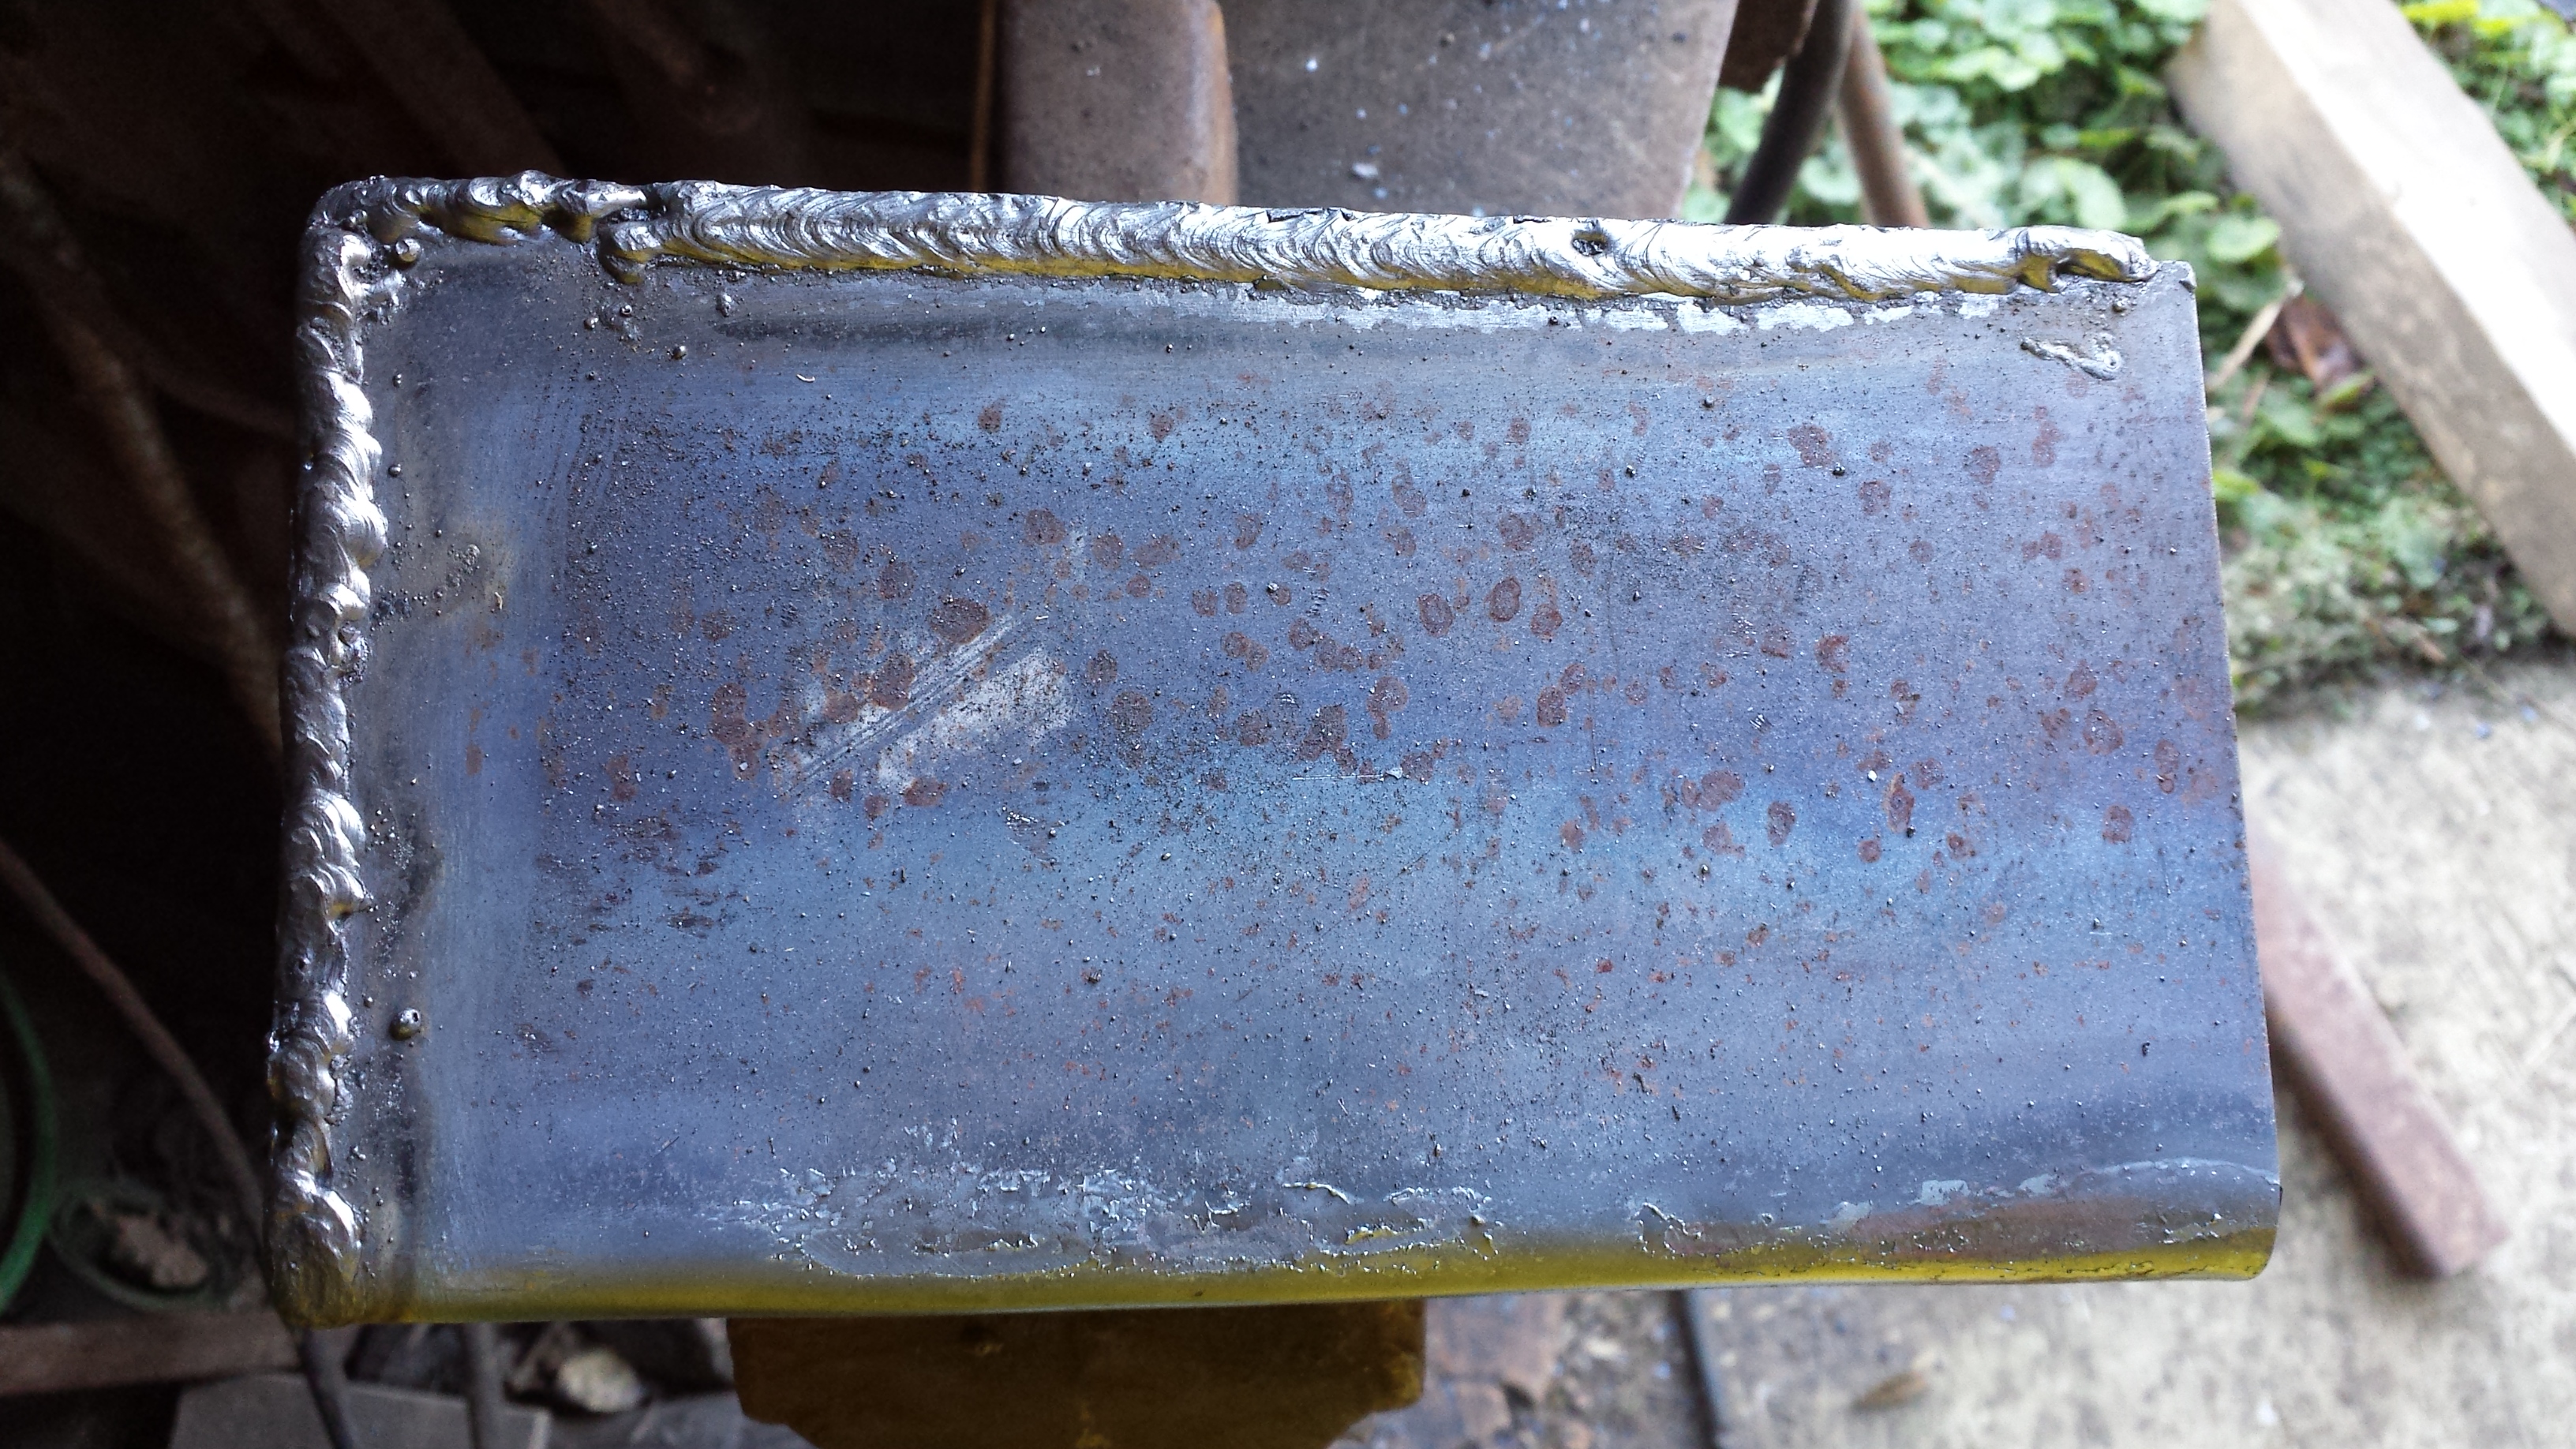


Welding is done as shown above. Some of them aren’t perfect, but they are all very strongly welded.
There will be two holes on each side of the beam, and then two or three in the back of the bracket to hold them to the wall.
In a subsequent post, I’ll show them installed.
